One of the most fun power tools you can own is a lathe. It gives you the gift of creativity; you can make various furniture accessories and unique cups and bowls. Today we’ll be focusing on how to turn a bowl with a lathe. We’ll walk through a step-by-step guide on turning a block of wood into a boutique bowl, that will remind you why you bought a lathe.
The good news about this project is you don’t need much other than the lathe and the wood to complete the project. If you’re new to lathing the most it will cost you is time. A lathe is a tool that takes time to get used to and learn how to use. However, when you master it, it opens up a whole new world of woodworking.

Turning wooden bowls. Tools
The tools needed to turn a bowl on a lathe can be limited to three. However, there are few other accessories that will add value. I will list the three basics and then I’ll mention I few items that will add value to the project.
Lathe
Obviously to lathe a bowl you’ll need a lathe. If you don’t have a lathe yet, we would recommend lathes that are fit for turning bowls. They will have a set of features that are specific for bowl making.
Drill or Drill Press
This drilling portion is brief but important. You will need to drill one hole but it will need to be straight, this is why we recommend a drill press for wood. (For a woodworm screw method)
Chisel set
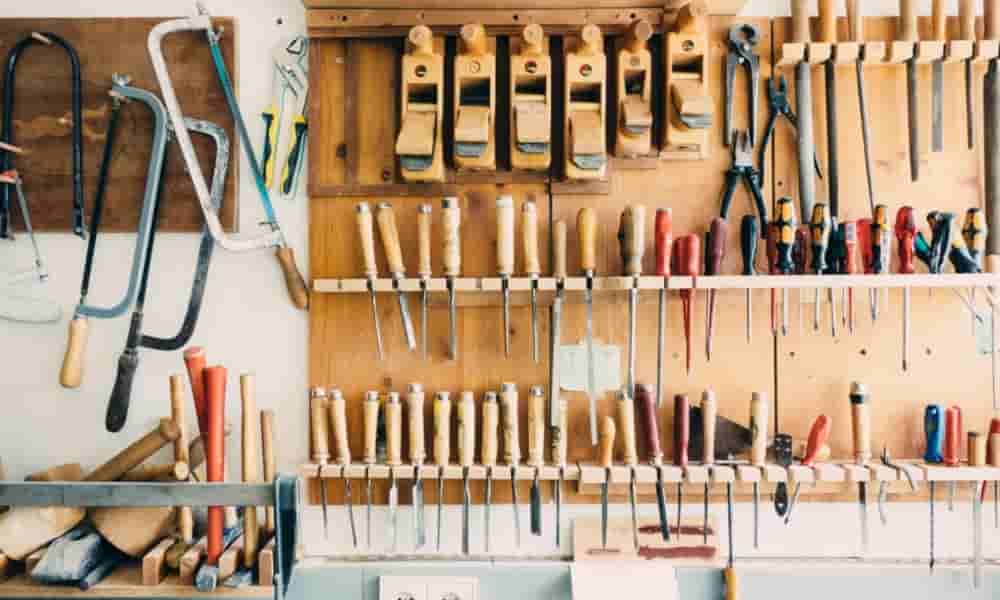
A chisel set is needed to carve out the wood.
A few items to have on hand with this project would be, various grits of sandpaper, a cloth, and finish. These will come in handy when applying the finishing touches on your bowl.
Bowl turning. Steps
1. Prepare Your Wood Block
Your wood block is the block of wood that will end up becoming your bowl. Keep in mind that it’s much easier to turn softwood. Either it is a small tree stump you would like to turn or a glued block, choose a friendly wood. Whichever method you choose make sure to cut the right size in accordance with your lathes’ swing.
There are a few ways to make a block. If you’re feeling artistic you can use an actual tree limb or stump. The pros of this method are you will have an authentic piece, you will have a stronger smell, and you can even leave tree bark on the piece. In a nutshell, you’re going to have an authentic bowl you can brag about.
However, if you use a cut of a tree you’re going to run into unknowns. There might be a knot in the wood you won’t find until you carve into it. There might still be sap in the wood, which will give you trouble when carving.
If this is your first few times I would go with gluing blocks of wood together. They way you do this is cutting the same size blocks and gluing them together. You’ll want to vise these pieces together and let the glue bond the block. Once the glue dries and the woodcuts become one piece cut the corners off.
From this point, you’ll want to mark the center of the wood block and or drill a hole if you’re using a woodworm screw. This needs to be precise because this block with be rotating and if you’re off, the block will wobble and you won’t be able to carve it.
2. Attach Wood Block to Lathe
There are a few methods of attaching wood to a lathe. If you recall we drilled a hole in the wood block in step one. This hole was drilled for the woodworm screw connection. This method is extremely effective and is a great way to mount a bowl to a chuck.
Another way is to attach a spindle to your woodblock and then connect the spindle to your lathe. In both methods you will want to press your tailstock up to the opposite end of the block to hold it in place for turning.
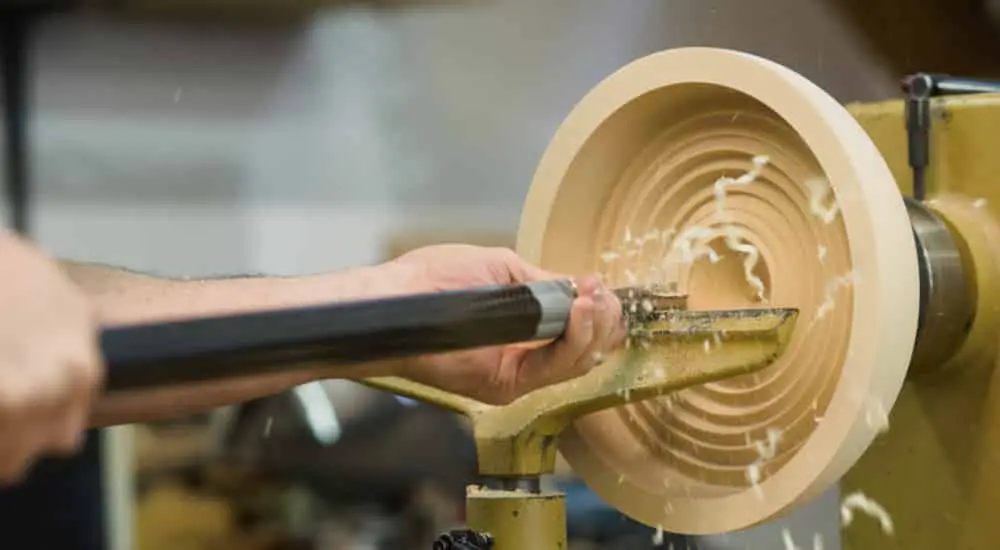
3. Turning a Bowl
All the steps up to this point were easy enough but making a bowl takes practice. Each one of your chisels is made for specific cuts. Some are made for rough cuts, designed to bore the outer shell of the bowl. Others are designed to make skill cuts and designs on your bowl. Make sure to use the correct chisel for each step of turning the bowl.
Once you begin to chisel away you’ll notice your bowl take shape. As your bowl takes shape it’s time to hollow out the bowl. For this step, you’ll need to remove the tailstock and connect a faceplate and tenon. Once you have the bowl on the lathe drill a hole in the center to start carving.
The hole is so you can work your chisel from the inside to outside toward the rim of the bowl. Chisel away until you reach the depth of the bowl desired. Keep in mind not to chisel down so far you run through the bottom of your bowl.

4. Finishing Touches
After you have chiseled and fashioned your bowl leave it attached to the lathe and begin to sand. Take your sandpaper and run it along the bowl working it with the grain. Sand down to your satisfaction. Make sure to take a cloth and run it along the bowl to clear of the dust.
At this point, you can conclude or add a layer of finish for a glossy look, it’s up to you.
Turning a wood bowl on a lathe. Safety
When working with a lathe safety is of the utmost importance. The machine revolves at an incredible rate and accidents can happen if you’re not careful. Here are a few tips that will keep you safe why working on your bowl.
- Clean at least three feet in every direction of your lathe. Lathes kick up a lot of shavings and sawdust. It’s important to have the proper footing when operating and a good cyclone dust collector.
- Where appropriate clothing; when working with machine do not where any loose fitting clothes. This will prevent any item of clothing getting tangled in the machine.
- When you attach your workpiece make sure the lathe is set to a low rpm. This will prevent your piece from flying off if not properly attached.
How to turn a wooden bowl. Wrap up
We hope you’ve gained some insight on how to turn a bowl on a lathe. Since there a handful of techniques for lathing a bowl feel free to keep exploring. We covered the standard ways to attach bowls and turn them.
One of the best things is most projects you work on the lathe are cost-efficient. Once you’ve invested in the lathe you’ve already knocked out the largest portion of the cost. All you need is some wood and chisels and you’re ready to create.
One thing to get a feel for is which type of block method you're comfortable with. You can start with a large block (either a thick cut of lumber or a tree limb/trunk) or you can create a glue board. Both have their pros and cons, experiment with both.
Overall, have fun. Once you have your first bowl turned you’ll feel like a master woodworker. Keep at it, hone your skills and keep on creating exciting new pieces.
Further Reading & Resources
- Hardwood Species for Spindle Turning the Best Wood - TheSpruceCrafts.com
- What is swing on lathe machine? - Answers.com
- TURNING A BOWL WITH JUST A LATHE AND A FACEPLATE - WoodWorkersJournal.com

