Shower diverter stuck? We’ve all been there before; we start to use some extra muscle to crank the middle shower knob. At first, we can successfully turn it just enough to get the diverter to work. However, the problem we don’t often see coming is we’re slowly stripping away the little thread which is left on the inside of the knob.
However, this is not the only problem you’ll run into with shower diverters. It could be the faucet that needs to be replaced or you need a new diverter stem. Don’t let this discourage you, we can give you some helpful insight. This type of project can seem intimidating at first, but once you wrap your head around it, it’s not that bad.
What we aim to do is give you a troubleshooting guide, so you can save a call to the plumber the next time your shower diverter goes out. These simple steps might save you some cash, which helps your wallet. We’ll cover the tools you’ll need and an easy step by step process to fix the problem.
Tools
Prior to starting to the project, you’ll want to make sure you have the essential items before you start. This style of project does not require a big toolbox, just some elbow grease, and a positive attitude.
However, below are some tools that will help you get the job down. Keep in mind the tools will vary slightly depending on the type of shower you have. The one item that you will need in all the scenarios is the Teflon Tape.
Screw Driver
The drill will help you remove the knobs from the shower wall. Just under the knob caps, there will be screws. We recommend the Tarvol Screwdriver Set it’s lightweight and has interchangeable heads.
Adjustable Wrench
The adjustable wrench is able will help you grab the pipe, which some systems will require.
Teflon Tape
This will help seal the pipe.
Caulk
Some faucets require caulk around their base.
Steps
Identify your Diverter System
When your shower is not supplying water, but your bath faucet is it narrows down the problem. The first thing you want to check is what type of diverter system you have. Showers vary on how they're architected.
One way in which they’re designed is a three-valve system. This system is slightly more difficult to fix of the others, but it’s not too bad. It requires a bit more disassembly to get to the sources.
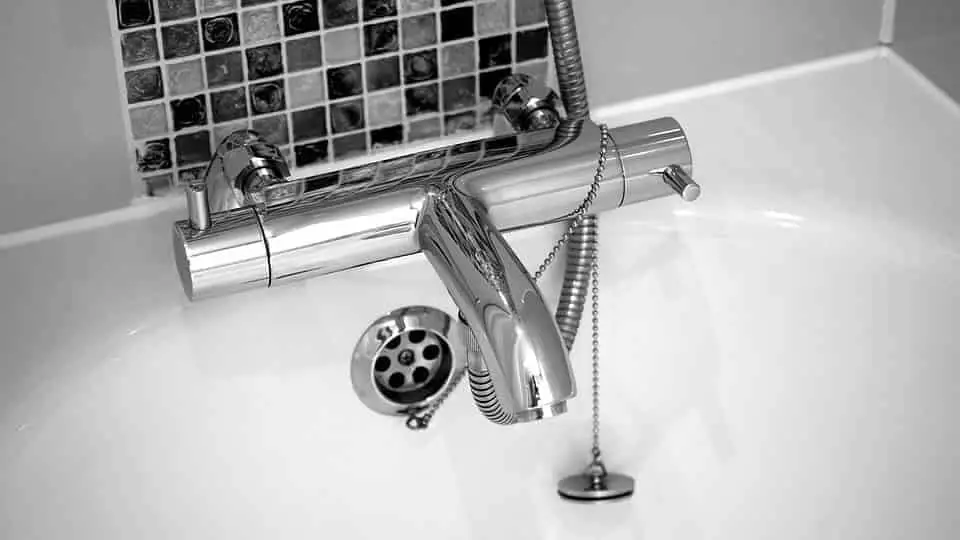
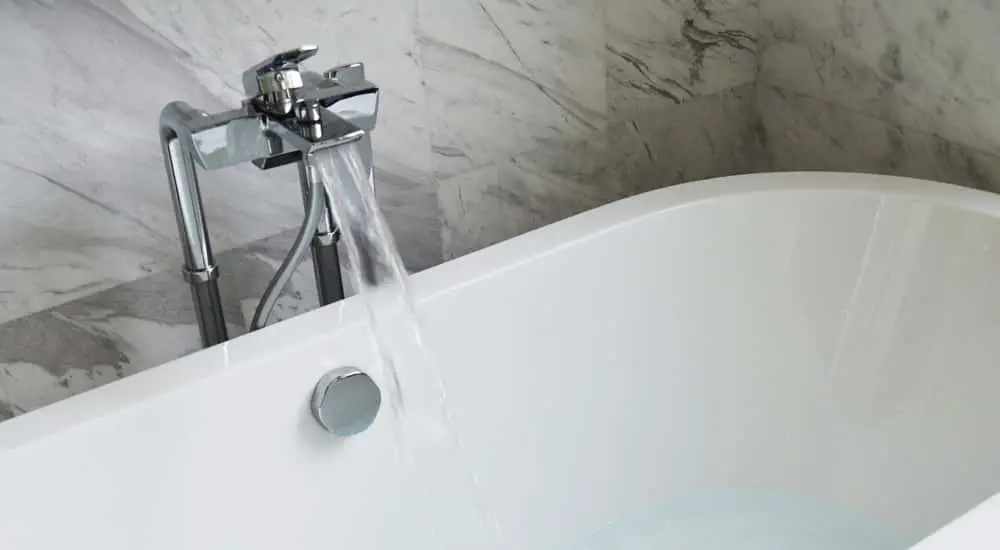
Another place you can find the diverter is in the faucet. If this is the case, you’ll have an easier time with the project. However, there are a few different types of faucet systems.
These two types of systems make up the two types of diverter systems. I’m going to cover the three-valve system first and then move to the faucet diverter system. Each system is unique, and the way you approach the fix is different. Keep in mind that some shower systems have both.

2a. Check Diverter Knob (Three-Valve System)
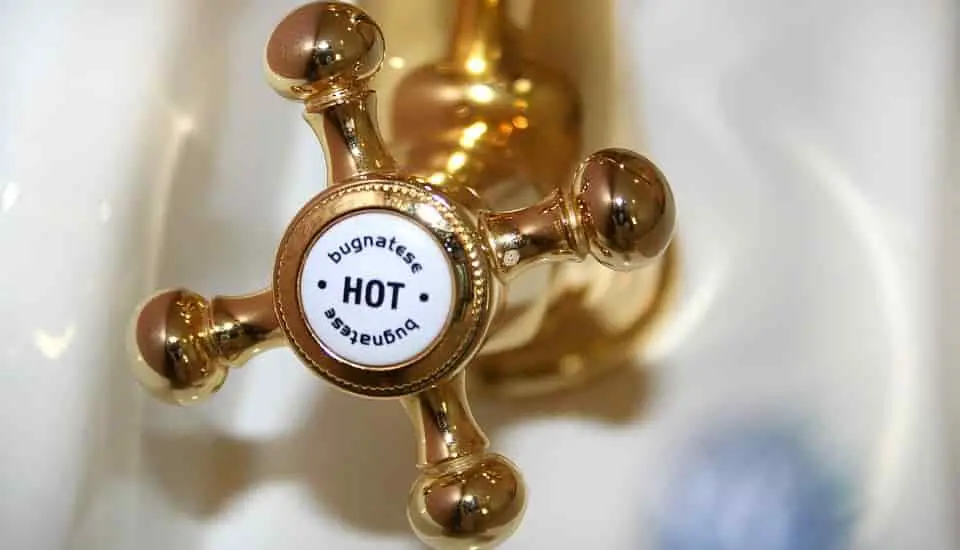
Overtime and use the diverter knob can tend to strip. The diverter knob sits between the temperature knobs.
Proceed to pop the knob cap with a flathead screwdriver to expose the screw. Once you can see the screw continue and unscrew. Once the knob is removed check the inside thread of the knob. If you find the thread has been stripped replace the knob.
From this point test the shower again and find if this is the fix, if not proceed to step three.

2b. Detach the Faucet
If you only have two knobs in your tub/shower system, the diverter is in the faucet. When the diverter is in the faucet you’ll need to replace it or clean it. Sometimes it’s as easy as cleaning it and putting it back on, other times you’ll need to replace it.
The faucet can be removed one of two ways. Check underneath the base of your faucet, if you find a screw remove it. Once it’s rotated the faucet should detach from the wall.
If you check under the faucet and don’t find a screw, simply rotate the faucet and it will detach from the wall. Rotate your faucet just as you would unscrew something.
Once the faucet is removed look inside. Examine the faucet to see if you dislodge the stuck converter. Sometimes you’re able to repair the existing faucet.
3a. Replace Wall Diverter Stem (Three-Valve System)
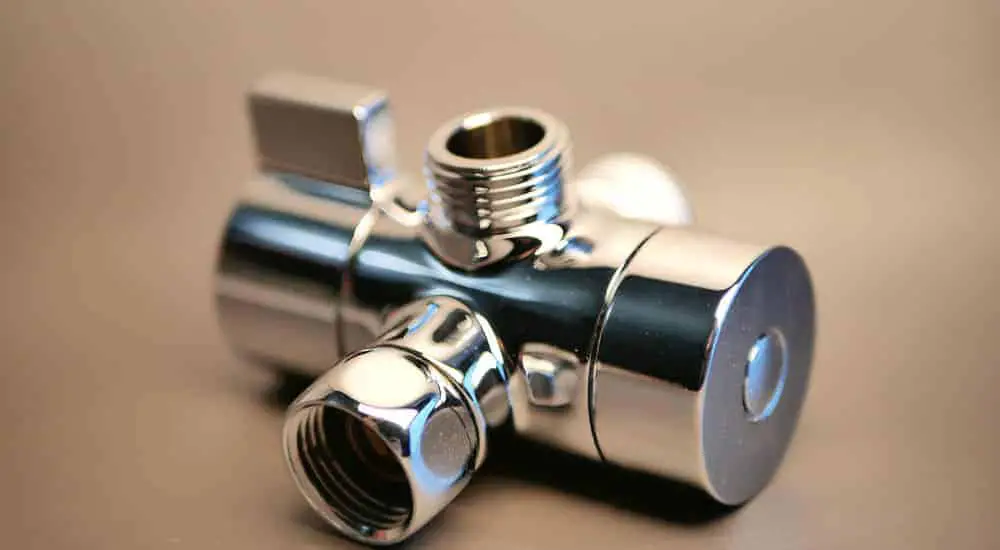
The wall diverter stem is the metal piece exposed once you removed the knob. With the adjustable wrench unscrew the stem from the wall.
You can also remove the stem with a socket tool or wrench. When you have the old stem removed, wrap the new stem in Teflon tape and screw into place. You’ll want to give the new stem an extra quarter turn after it’s hand tight.
Place the knob back onto the new stem and test the shower.
3b. Wrap Pipe & Replace Faucet
One the old faucet has been removed it will leave you with a 3 to 4-inch copper pipe. Go ahead and clean off any build up on the pipe for a snug fit for the new faucet. Once you have the pipe clean wrap the threaded portion in Teflon tape. Teflon tape is used to prevent any leakage that might try to seep through. A good tip is to bring the old faucet with you to the hardware store to ensure you have the right size.
With the new faucet in hand attach to the pipe and fasten into the wall.
One thing to keep in mind is that some shower has both systems in one unit. If this is the case you might have to replace the wall diverter stem and the faucet. If you have a shower that has three knobs and has a pull tab on the faucet, you’ll need to troubleshoot the faucet and the diverter knob stem.
Additionally, take note if your faucet used caulking. If it did, be sure to add some caulking around the base of the faucet. Not all faucets require this, but if you notice yours does be sure to replace it.
4. Clean Up
No matter what shower system you have there will be some mess. As your working rust, dirt, corrosion, and caulk will be sitting at the base of your tub. Make sure you close your drain before you start the project to prevent this grime from getting into your drain.
The best way to clean up the mess is to get a damp cloth and wipe down the tub. Then go over it with a dry cloth as well to pick up the residue. You can always clean the tub after for good measure.

Safety
With any DIY project, you need to keep stay safe. Here are some things to keep in mind when you’re working on a household plumbing project. This project does not require any power tools, but safety is still a priority.
- If you need to replace the diverter valve stem, turn off water to the home. You can access your home’s water supply by the street. Look for a circular plastic lid level with the ground.
- Never use any tools that require to be plugged into an outlet when working with water.
- Completely dry the tub area before entering. This will help prevent any miss-footings while you’re working.
- Drawback shower curtain or remove while working in a tub. Give yourself as much of a clear workspace as you can.
Now that we’ve covered the essential steps we hope that you’ll feel confident tackling this project. Remember to determine if you have a faucet or knob converter or possibly both. If you need to remove your faucet be mindful to notice if there is caulking so you can replace it.
On a three-valve system check the diverter knob first. Sometimes it’s as easy as replacing a stripped knob. If this happens to be the case you’ve saved a good amount of money and time.
When detaching a faucet check underneath its base to see if you need to remove a screw first. For a good grip on the faucet try wearing gloves with rubber padding if needed. To make things easy on yourself it’s best to take the old faucet or knob to the hardware store so you can buy the correct replacement parts.
Overall, this project can seem intimidating at first glance, but don’t let that stop you. It’s a simple as unscrewing a few parts and replacing them. So, after you read this article we hope you can answer, no, to the question. Is your shower diverter stuck?
Further Reading & Resources
- How To Replace A Shower Diverter Valve – LandmarkHomeWarranty.com
- How to Replace a Bathtub Spout – FamilyHandyman.com
- How to Repair, Replace and Install Bathtub Faucets and Shower Valves – HomeAdvisor.com
- How to use Plumber’s Tape – TheSpruce.com


can’t get the faucet off any suggestions