Using an arbor press is usually for small jobs such as riveting, staking, and other press fit works. It can also be used to install, configure, and remove bearings. Depending on different users, steps on how to use an arbor press for any of the applications mentioned above may vary in various ways.
This write -seeks to list and expound on the most commons ways in which one can use an arbor press. Read through to get insights on the applications you should follow while working with the press. With the insights, buying an arbor press will be easy when you have your needs set.
What is an Arbor Press?
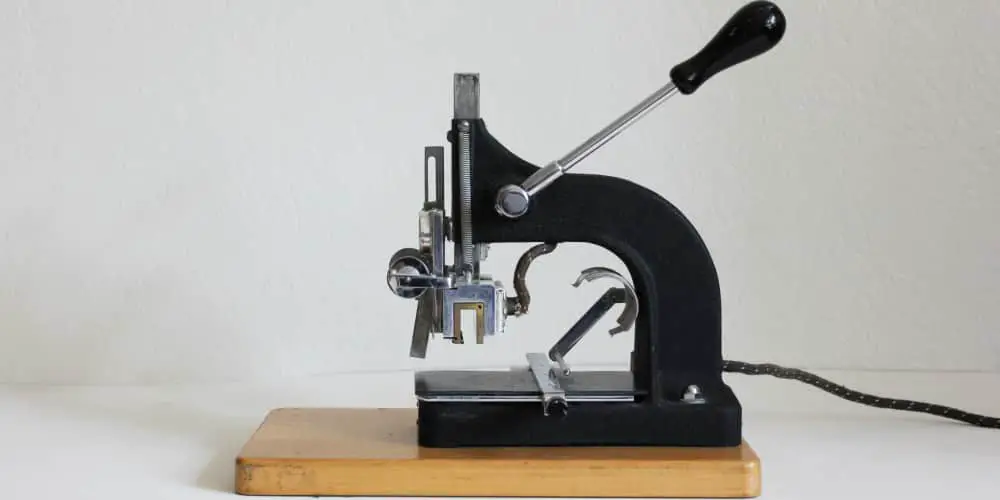
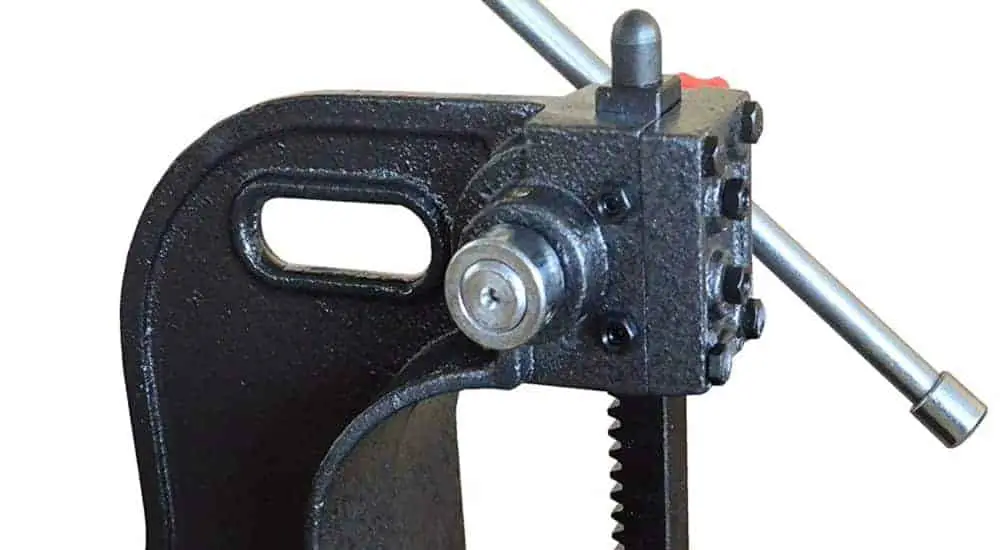
An arbor press is defined as a small hand-operated press, similar to a woodworking drill press used for smaller tasks like the installation, configuration, and removal of bearings. It can also be used to stake and rivet the bearings or for any other press fit works. While at it, it can either be mounted on a pedestal, wall, or workbench.
Depending on the needs at hand, other tools or dies like inserters and punches may be added. The accessories are usually added to the end of the ram although this depends on the task. It’s also dependent on the user, whether it’s a jeweler, clothes-maker, metalworker, or an automotive mechanic.
Tools and Materials Needed
- Arbor press
- Push pins
- Workpieces
- Workbench or pedestal.
- Work gloves
- Ear and eye protection gear
Using an Arbor Press: Step by Step Guide
The write up below includes a step-by-step guide on how to use your arbor press, from preparations to the end. It is worth noting that for each application, the steps may vary slightly.
1 – Preparations
The first step for anyone using power or hand tools like an arbor press is to create a safe and conducive environment for them. The preparations include getting protective gear for yourself, which is a requirement for any machinery use. The gear you should look for can include safety eyeglasses, heavy work gloves, nose masks, and ear-protective headphones.

Next, lay down all the tools that you may need as well as the materials to save you time when you start working. This will also ensure that you can reach any tool or materials easily and right where you are.

2 – Troubleshoot the Arbor Press
Putting new bearings is one of the most basic tasks one can perform with an arbor press. Before you can do a perfect bearing replacement, make sure to check the following aspects:

3 – Check the Tonnage
The unit should be one that can deliver the power needed for the job. Make sure the force it will produce will be enough for the size of your bearings.
4 – Check the Alignment
You should not use the arbor press if it is denting, cracking, or damaging your workpiece. Instead, you should check the alignment before you start work to save your workpiece. For most presses, disassembling and reassembling them is not a hard task.
5 – Confirm the Gears are Working
If the press is not catching properly when you pull the handle, this may be an indication that the gears are faulty or stripped. Such occurrences may be as a result of users exerting too much force without proper adjustments. It may also be as a result of rust or other faults.
Therefore, it is advisable to check the gears before starting work. If the gears need replacement, check with your manufacturer or the stores where you bought the arbor press. You can either replace the arbor or buy replacement parts if they are available.
6 – Place All the Parts you Will be Working with
If you want to put together replacement bearings for your machine, start by putting the bearing assemblies on the lower plate of your arbor press. The bearing assembly is usually put upside down and is then line up with the right sized holes on the lower press.
If you place the assembly the right side up or misalign it with the lower plate, you would be running the risk of sticking the part of the bearings that you want to replace. This will make replacing the old bearings with new ones hard. If that happens, it will be so unfortunate since you will have to buy a new bearing assembly, waste your scheduled work time, and spend more than you had intentioned.
7 – Release the Bearings
The next step is adjusting the press to allow the rack gear to be dropped down onto the push pins. The pins are found on the lower plate. Here, ensure to position the push pins properly regardless of the task.
After the pins are adjusted and in place, lower the handle and proceed by pressing the bearing out of the assembly piece. As you do it, ensure to exert only the needed force for removing the bearings from the assembly pieces. If you pull the handle too quickly or deliver far too much force, you might damage the assembly plate or the arbor press itself.
8 – Position the Assembly Piece
When you pull the handle back up, you can then remove the assembly piece safely. Turn the assembly piece right side up and check if the opening is spotless and that there are no damage marks or scratches.
Your assembly part is now ready, and you can place it on top of the replacement bearings. Remember to place them on the lower plate and then line up the holes with those bearings. This can be done by adjusting the push pin. Since you want everything to fit in together and with ease, it is advisable to use a larger hole than the size of the bearings.
After that, you are now left with the task of pushing the handle back down. This is done by turning the handle and delivering enough force to ensure the replacement bearings can drop right into their proper holes without a hitch.
If you lined up everything correctly, it would be easier to insert the replacement bearings into the assembly piece. The bearings will also be ready to be installed in any piece of machinery to which it belongs.
Maintaining your Arbor Press for Continued Service
As it is with every tool, you should take care of your arbor press with proper and constant maintenance. As for the arbor press:
- Always ensure that it is lubricated using the right light machine oil.
- If it accumulates dust, oily substances, and debris, make sure to vacuum clean it. You can also wipe the accumulated dust or debris after every use.
- Ensure that you always check the ram side-by-side as well as front-to-back. This is one of the best ways of checking for any parts that may need tightening and adjusting before you can reuse it.
Summary
An arbor press performs most of the tasks that a drill press is designed for. Even though it is limited to smaller jobs, it can be used by amateurs, DIYers, or professionals looking for precision. Whether you are repairing jewelry that needs up to 500lb. or want to put together heavy machinery parts, this is a handy tool for your needs.
Resources & Further Reading
- Arbor Press – Wikipedia
- How to Use an Arbor Press – Do it Yourself
- Let’s Assemble an Arbor Press – Onshape
- Cheap Tubular Rivet Press From an Arbor Press – Instructables

